Taraw Cliff El Nido: Via Ferrata And Canopy Walk Guide
The guided fixed-cable climb up the limestone wall behind town, plus the gentler canopy walk: cost, fitness, timing and the safety rules that matter.
Arrange Taraw’s actual route and opening times directly with the local operator; use the options below only for a separate boat or land day. Compare Your El Nido Options Below.
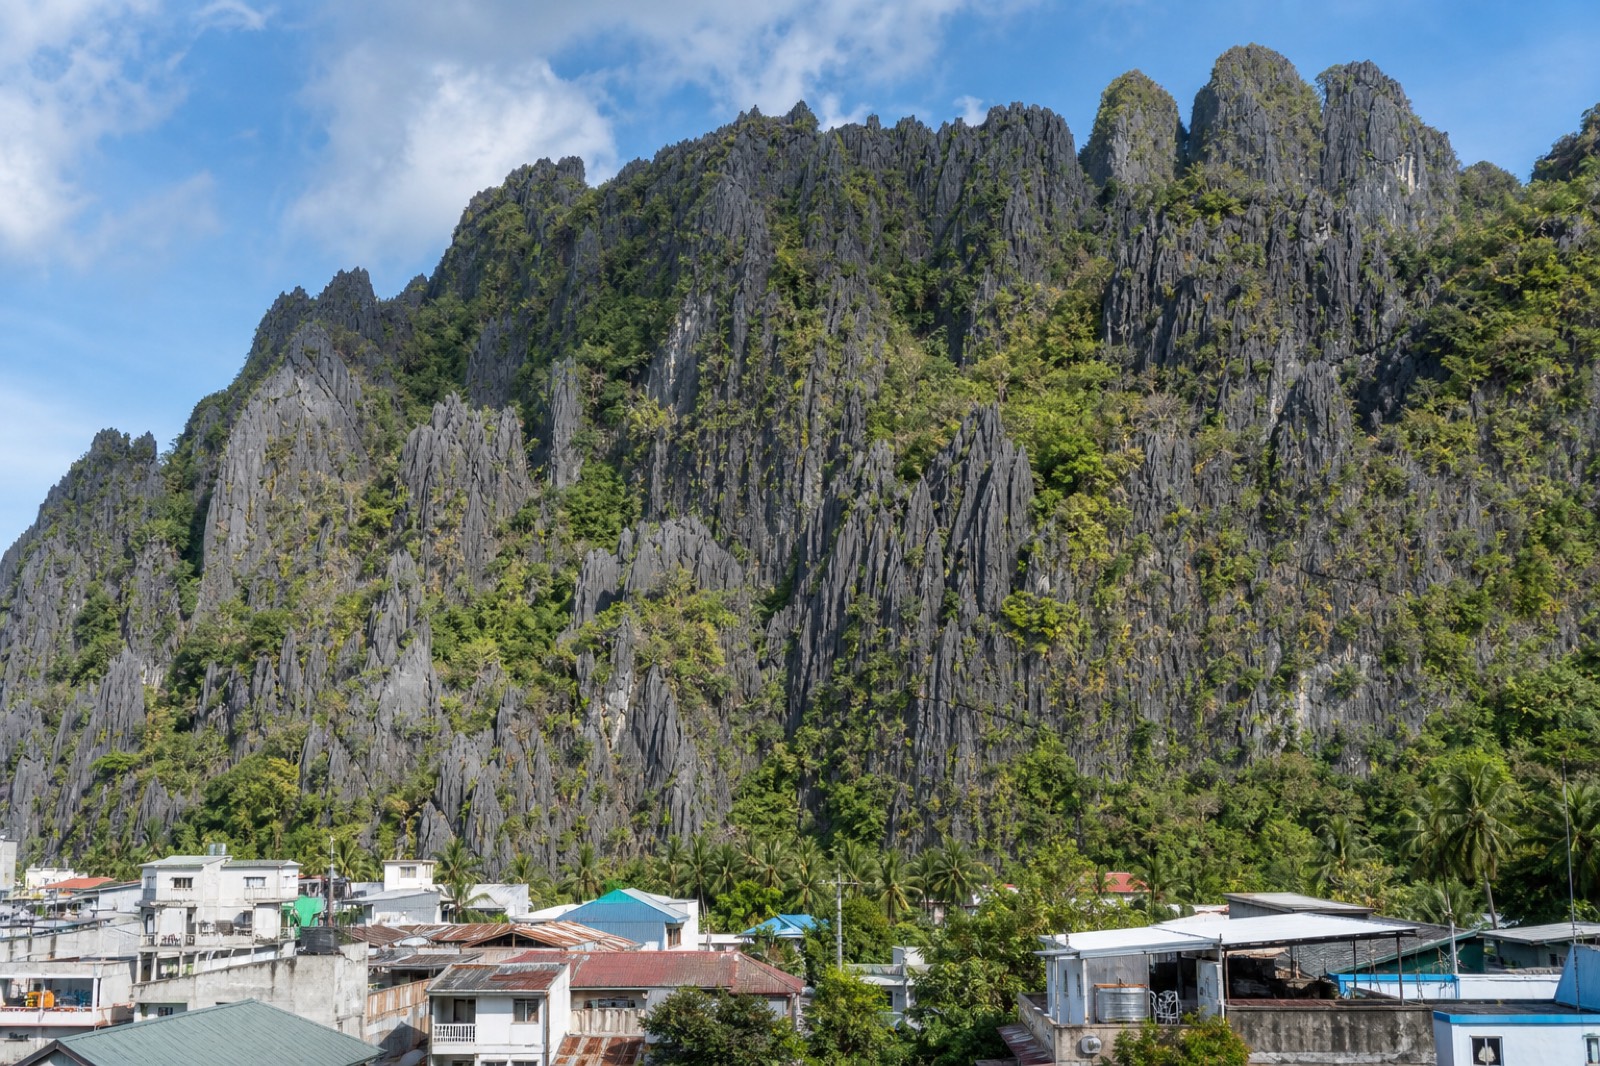
The best view in El Nido is not from a boat. It is from the jagged limestone wall directly behind the town, where the whole of Bacuit Bay opens up beneath your feet. Older descriptions sometimes refer to an exposed scramble. Confirm the current guided route and its equipment with the operator; it is a different activity from an informal climb.
- No verified Taraw ticket is offered in this comparison.
- A full-day jeepney outing must not be assumed to fit after a climb.
This is a straight guide to doing Taraw the sensible way: what the via ferrata and canopy walk actually involve, who should attempt them and who should not, what it costs, when to go, and why the old freelance climb is no longer an option worth entertaining.
Do it right and Taraw becomes the single best hour of many people's trip. Do it wrong and it becomes a cautionary tale. The practical questions are the operator’s current route, its equipment and participant requirements, and the available start times, all covered below.
What Is Taraw Cliff, And Why Climb It?
Taraw Cliff is the jagged limestone peak that rises straight up behind El Nido town, part of the same karst wall that shapes Bacuit Bay. From its ledges you look down on the harbour, the pier, the offshore islands and the reef line. Ask the canopy-walk operator which guided route is currently offered and how much climbing it involves.
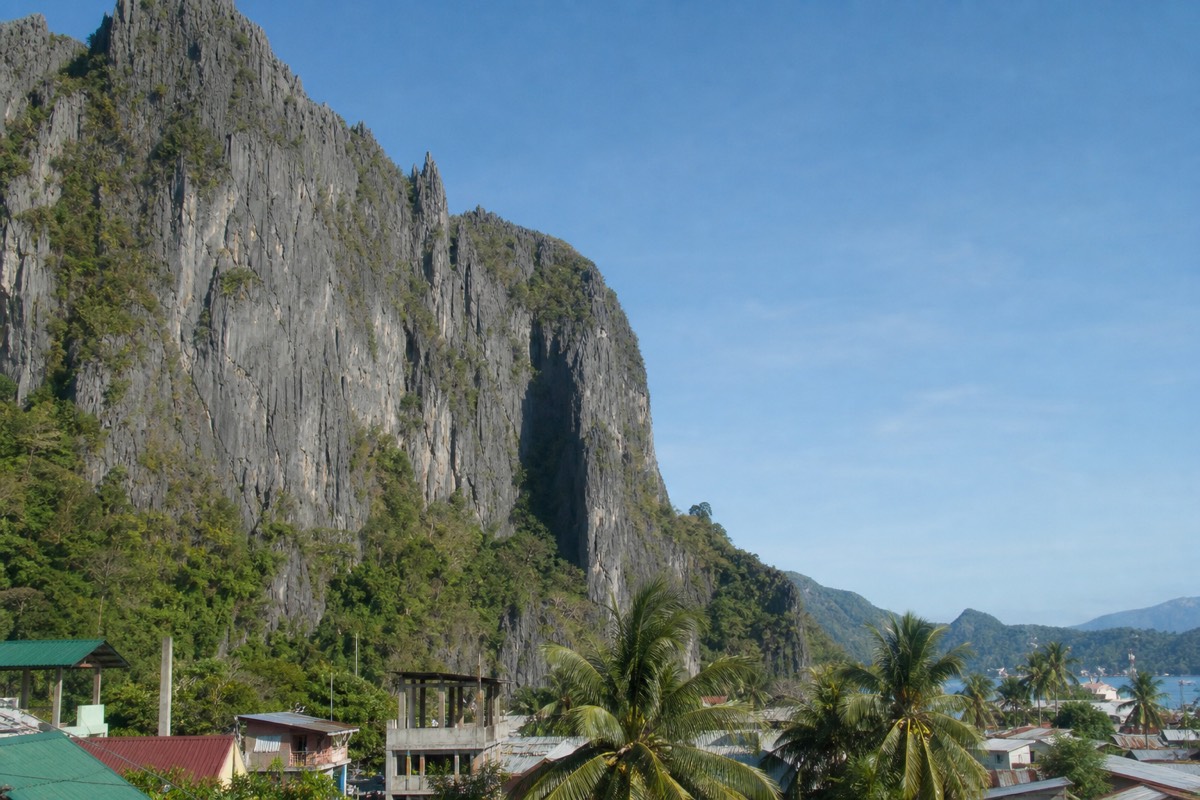
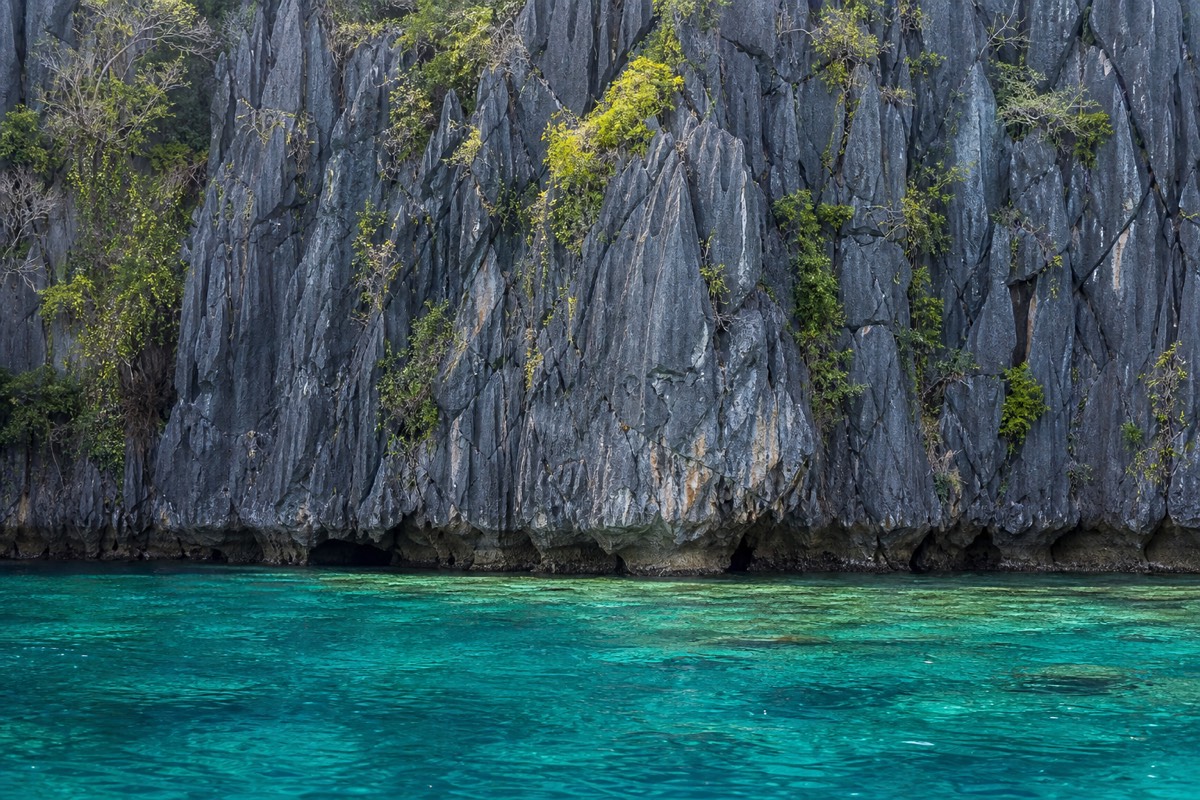
The rock is sharp, weathered karst, the kind that looks soft in photos and cuts like coral up close. Taraw itself climbs to around 230 metres, though the guided route and the canopy walk deck sit on a lower shoulder of the cliff rather than the true summit. You are not summiting a mountain. You are gaining a hundred-odd metres of dramatic limestone to earn a view that no boat trip can give you, straight down onto the town and out across the islands.
What makes it worth the effort is the angle. From the water everything is at eye level. From Taraw you finally see how Bacuit Bay is laid out, how the islands cluster, and why the boat routes thread the way they do.
A word on the rock itself, because it shapes everything about the climb. This is karst, limestone laid down as ancient reef and lifted over millions of years, then sculpted by rain into blades, pockets and flutes. It is the same geology that built the islands you see offshore, which is why the view from Taraw feels so much of a piece with the archipelago below. The rock is beautiful, and it is sharp, and both facts matter the moment your hands are on it.
What Is The Difference Between The Via Ferrata And The Canopy Walk?
The via ferrata is the fixed-cable climb, where you clip a harness lanyard to a steel line and haul yourself up the rock using bolted rungs and footholds. The canopy walk is the gentler part, a bridge and viewing deck fixed along a lower section of the cliff. Ask which climbing, bridge and viewing-deck sections the current ticket includes.
Via ferrata is an Italian idea, literally an iron way, and it has become the standard for making exposed rock accessible without full climbing skills. For Taraw, have the operator explain the equipment, attachment system and guide supervision for the exact route you are buying. The canopy walk portion is closer to a suspension bridge with a deck at the end, more about the view than the effort, and it is where most of the famous photos are taken.
| Feature | Via ferrata | Canopy walk |
|---|---|---|
| Effort | steep, uses your arms | light, mostly walking |
| Exposure | high, real drops | moderate, railed deck |
| Gear | helmet, harness, cable clips | helmet, guide |
| Who it suits | reasonably fit, head for heights | confirm participant requirements |
| Roughly how long | 30 to 45 minutes on the rock | 15 to 20 minutes |
Confirm whether the current ticket combines these sections or offers separate choices. Tell the operator how much exposure and climbing you are comfortable with before paying.
If you have done a via ferrata in the Alps or Dolomites, adjust your expectations in both directions. Taraw is far shorter than an alpine route, but the rock is sharper, the sun is stronger, and there is no cool mountain air to help you. If you have never heard the term before, do not let it put you off. Ask the guide to explain how each section is negotiated and supervised before you start.
How Hard Is It, And Who Should Skip It?
The route is short but steep, with genuine exposure and a fair amount of pulling with your arms. Participant suitability depends on the exact route and the operator’s requirements. Skip it if you have uncontrolled vertigo, a heart condition, a recent injury, or you are genuinely uneasy on ladders and heights, because you cannot easily turn back mid-route.
You do not need to be a climber or especially strong. You do need to be steady, able to trust your feet on uneven rock, and calm enough that exposure will not freeze you halfway. The hard part is mental more than physical for most people. The rock gets hot, the holds are sharp, and there are sections where the drop below is very real, so confirm how the guide and equipment protect each section.
For children, confirm the route’s actual age and equipment requirements rather than assuming the canopy walk is suitable. Anyone with knee, hip or shoulder trouble should think twice, since the movement is a lot of stepping up and pulling. If you know heights undo you, the canopy walk alone still delivers a fine view without the full climb.
To picture the movement: it is less like hiking and more like climbing a very long, uneven ladder that happens to be made of rock and steel. You step up, you pull, you find the next foothold, and you do that in bursts with short rests where the guide gathers the group. None of it demands athletic strength, but if a flight of stairs with a backpack leaves you winded, pace yourself and say so early. There is no shame in stopping at the canopy walk, and it beats freezing halfway up the steep section.
| Traveller | Recommendation | Note |
|---|---|---|
| Reasonably fit adult | confirm the actual route demands | the standard experience |
| Confident older child | confirm the route’s child requirements | check the operator's age minimum |
| Nervous with heights | canopy walk, skip the steepest rock | tell your guide up front |
| Heart, knee or back issues | skip it | the view from town is still lovely |
How Much Does Taraw Cliff Cost?
Budget roughly PHP 400 to 500 per person for the guided via ferrata and canopy walk, which includes the helmet, harness, cable clips and your guide. Confirm the current price and available start time directly with the operator. The El Nido environmental fee is a separate charge you pay once for your stay.
For what it is, a guided, geared, one-to-two-hour activity on a genuinely dramatic cliff, it is inexpensive. The fee covers the equipment and the guide, and the guides are the whole point: they set the pace, check your clips at each transfer, and keep the group spaced safely on the cable. This is not a place to save money by going without them.
| Item | Rough cost |
|---|---|
| Guided via ferrata and canopy walk | PHP 400 to 500 per person |
| Helmet, harness, cable clips | included in the fee |
| Guide | included in the fee |
| Eco-tourism environmental fee | around PHP 400, paid once for your stay |
If you are stacking costs for the trip, our full guide to how much to budget folds Taraw in alongside the boat tours, beds and food, so you can see where it sits in a day.
Do not be tempted by a cut-price offer that skips the gear or the guide. The saving is small and the risk is not, and a proper operator's fee is already low for what you get. Ask exactly what any quote includes, especially the guide and equipment, rather than inferring quality or safety from the price alone.
When Is The Best Time To Climb, Sunrise Or Sunset?
Go early or late, and never at midday. The rock bakes and there is almost no shade on the face. Early and late light can flatter the bay, but confirm which hours the route is actually open before planning either window. Both beat the harsh 11am to 3pm heat by a wide margin.
Use the earliest suitable time the operator actually offers if you want to avoid the strongest heat. Sunrise and sunset access, clear skies and a quiet viewpoint are not guaranteed. Either way, the middle of the day is the one slot to avoid: the karst radiates heat, and there is no cover to duck into while you wait your turn.
Season matters too. During the dry-season months the rock is grippy and the views are clear, while wet-season rain leaves the limestone slick and can close the route outright. A clear, dry morning is the target.
Weather can rewrite the plan on the day. A route that is fine at dawn can close if a squall rolls through and leaves the limestone slick, so keep the climb flexible and have a fallback if the morning turns. In the wetter months especially, treat Taraw as a fair-weather activity you slot in when the sky cooperates, rather than a fixed appointment you force regardless of conditions.
| Time slot | Upside | Downside |
|---|---|---|
| Sunrise | cool, calm, quiet, soft light | early alarm |
| Mid-morning | still cool-ish | heat building fast |
| Midday | none worth it | brutal heat, no shade |
| Late afternoon and sunset | golden light, drama | crowded, queues on the cable |
What Should You Wear And Bring?
Wear closed shoes or sport sandals with a heel strap and real grip, never flip-flops. Bring water, sunscreen and a hat, plus a phone strap or a small zipped bag, because both hands are busy on the cable. Light gloves help on the hot steel and sharp rock. Leave loose valuables and anything you cannot secure back at your room.
Footwear is the thing people get wrong most often. The rock is sharp and uneven, and a slipping sandal at height is exactly what you do not want. Trainers or trail sandals with a proper strap are ideal. Beyond that, keep it minimal: you want your hands free for the rungs and the cable, so a small crossbody or a bag with a chest strap beats anything you have to hold.
| Bring | Why |
|---|---|
| Grippy closed shoes or strapped sandals | sharp, uneven karst underfoot |
| Water | hot, exposed, no shade on the face |
| Sunscreen and a hat | full sun on most of the route |
| Light gloves | hot steel cable and rough rock |
| Phone strap or small zipped bag | hands need to be free |
If you are still assembling your kit for the trip, our El Nido packing list covers the wider set of shoes, dry bags and sun gear that earn their space in Palawan.
Skip anything you would mind scratching or dropping. Sunglasses on a cord beat sunglasses that can tumble off a ledge, and a cheap pair you do not love is the smart call. If you want photos, a phone on a wrist tether or in a chest pouch is far better than juggling a camera one-handed on the cable, and your guide can often take the wide shots from the deck while you simply hold on and enjoy the view.
What Does The View Over Bacuit Bay Actually Show?
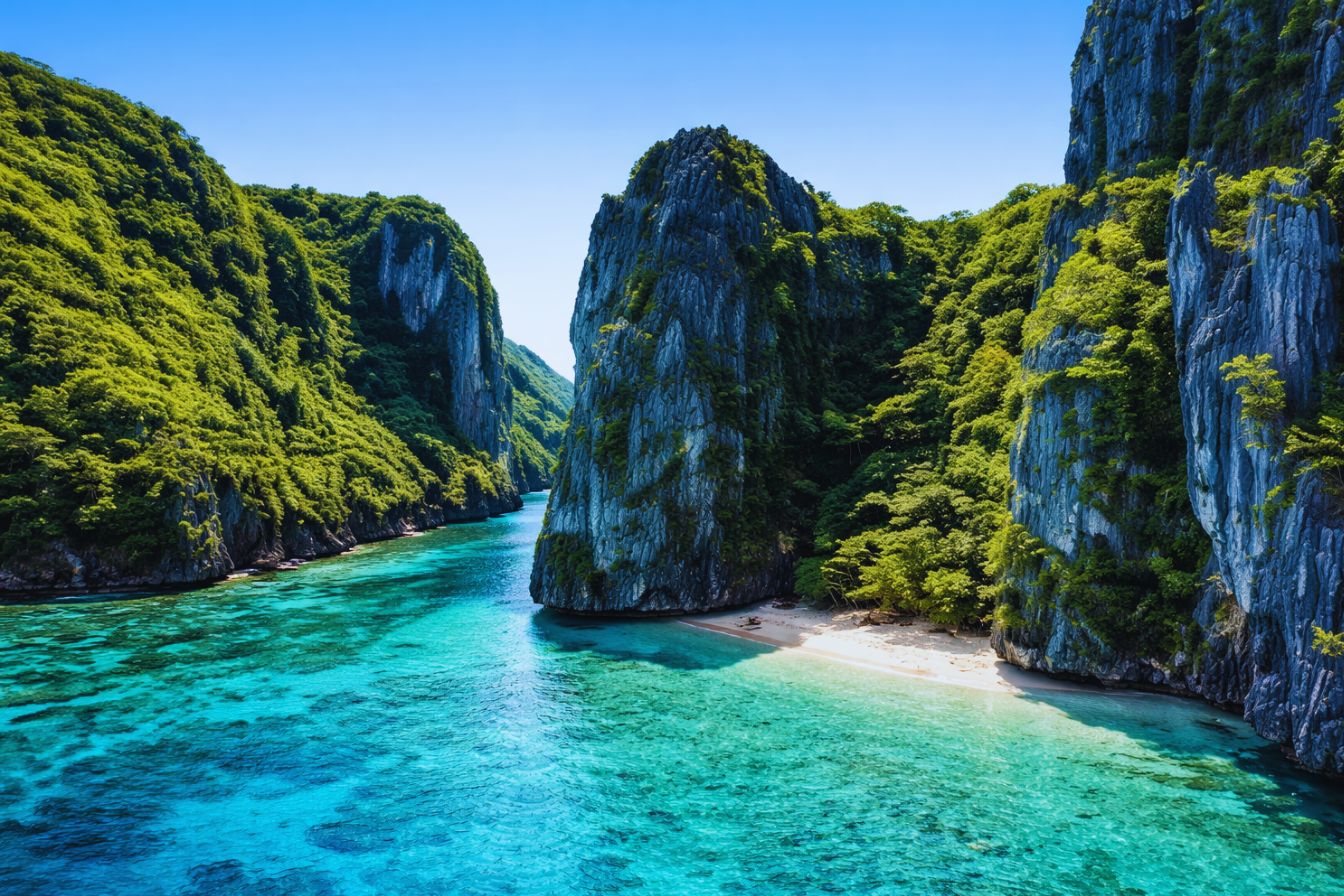
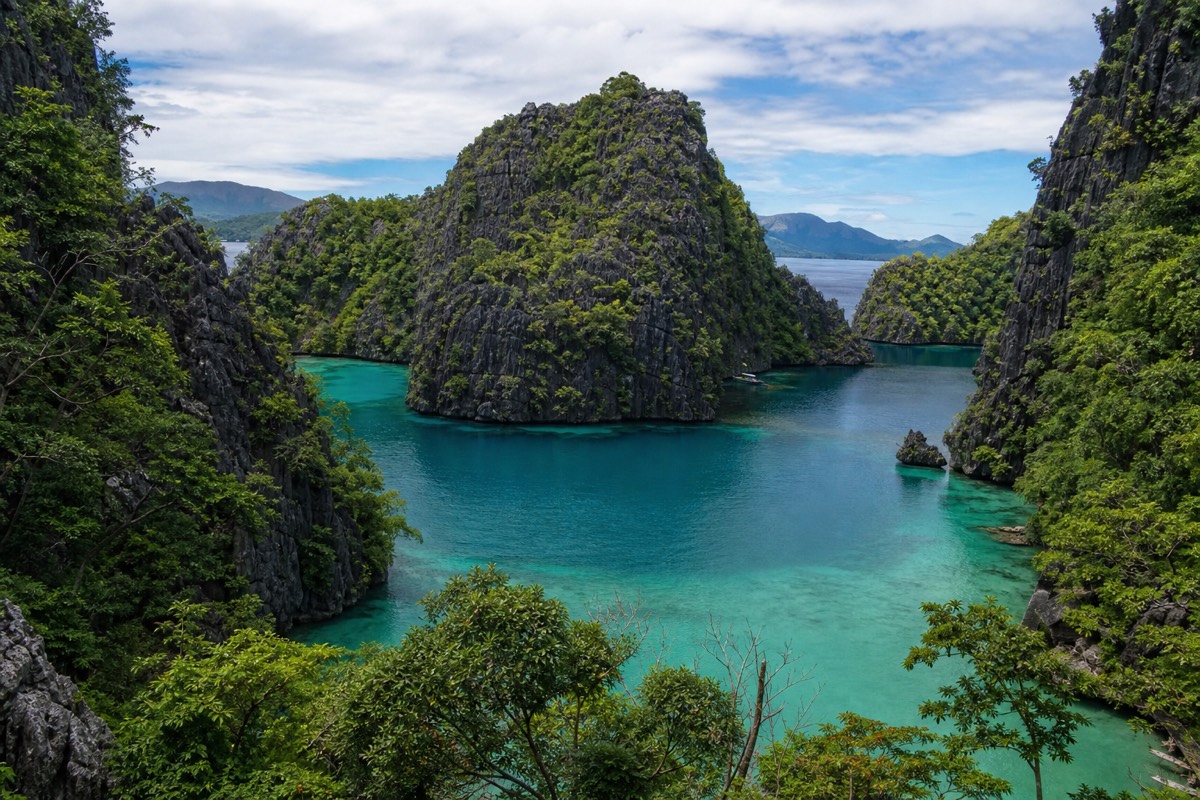
From the top you see the whole sweep of Bacuit Bay: El Nido town and its pier directly below, Cadlao Island filling the near horizon, and the scatter of limestone islets that the boat tours thread through. On a clear dry-season morning you can pick out the reef edges and the mouths of the lagoons.
This is the payoff, and it is genuinely different from anything you get at sea level. You can trace the geography of the archipelago in one glance, the near islands, the channels between them, the pale shallows over reef and the deep blue of the drop-offs. Cadlao, the largest island in the bay, dominates the view straight ahead. Off to the sides the smaller islets stretch out toward the open sea.
Standing up there also makes the boat days make sense. You can see why the classic island-hopping tours run the routes they do, and the lagoons you may have already kayaked look completely different read from above.
Take a moment to orient yourself before the camera comes out. Pick out the pier and the town grid directly below, follow the shoreline south toward Corong Corong and the sunset beaches, then let your eye travel across to Cadlao and the channels beyond. Reading the bay this way, from the top down, hands you a mental map that makes the following days on the water far more rewarding, because you already know how the pieces fit together.
What Should You Confirm With The Climbing Operator?
An unprotected scramble on sharp, exposed limestone is a different activity from an equipped guided route. Do not assume an informal route is open or appropriate to use. Confirm current route access, guiding, equipment and insurance directly with the operator before booking. Use an operator who can explain the exact route, access and safety arrangements.
Exposed limestone calls for clear route information and appropriate guidance. Ask how equipment is checked, how the guide manages the group and what insurance actually covers. A label such as “guided” does not by itself establish those details.
If you are ever offered an unofficial climb, treat it as a red flag about that operator generally. The people who cut corners on the most dangerous activity in town are not the people to trust with your day.
Ask how the operator spaces groups and handles pauses, route changes or a participant who becomes uncomfortable. Follow the guide’s instructions and clarify the procedure before starting an exposed section.
How Do You Get To The Taraw Trailhead, And Do You Need To Book Ahead?
The guided climb starts from the edge of El Nido town, a short walk or a quick tricycle from the centre, so there is no long hike to a remote trailhead. You meet your guide at the operator's staging point, where the helmet and harness are fitted before you touch the rock. Confirm the meeting point and available start time before arranging the rest of the day.
Because Taraw rises directly behind the town, getting to the start is the easy part. Most operators run their meeting point on the inland edge of El Nido, close enough that a tricycle from the pier or your room is a few minutes and a few pesos. There you sign in, get kitted out and take a short safety briefing before the group moves onto the cable. It is worth arriving with time in hand rather than sprinting up sweaty, because the guide will not rush the equipment checks and you do not want to.
Slots are the thing to plan around. Ask the operator for current opening times and available starts; sunrise and sunset access should not be assumed. A reservation should state the date, start time, price and cancellation or weather terms. In quieter months you can often walk up mid-morning, but even then a squall can close the route, so treat a booking as insurance for the slot rather than a mere formality.
| Practicality | What to expect |
|---|---|
| Where it starts | Staging point on the town edge, short tricycle or walk |
| When to arrive | Ahead of your slot, for fitting and the safety briefing |
| Booking | Confirm current opening hours and booking terms |
| Total time on site | Roughly one to one and a half hours |
| Weather | Route can close if the rock is wet; keep it flexible |
How Do You Get The Best Photos From The Top?
The signature shot is from the canopy-walk deck looking straight down over the town and out across Bacuit Bay, and it is best in the soft light of sunrise or the golden hour before sunset. Keep your phone on a wrist tether, let the guide take the wide shots while you hold the cable, and photograph the bay before the deck fills up.
Light does more for these photos than any camera. The flat, hard glare of midday washes the water pale and blows out the sky, while the low sun at either end of the day rakes across the karst, deepens the turquoise of the shallows and separates the islands from the sea. Soft light can improve the scene, but access hours, crowd levels and weather vary. Either way, shoot your favourite composition early in your time on the deck, before the next group arrives and the space gets busy.
Practically, both hands are usually busy on the cable, so a phone on a wrist strap or in a chest pouch beats a camera you have to juggle at height. Guides are used to taking the group shot from a safe stance on the deck, so hand yours over for the wide view and keep your own attention on your footing. From up there you can pick out the pier, the town grid, Cadlao Island filling the near horizon and, off to the south, the sunset beaches you can read about in our guide to the beaches around El Nido. That overhead view of the whole bay is part of why the climb ranks among the more unusual things to do in El Nido.
What Else Can You Do On The Same Day?
Allow the duration confirmed by the climbing operator, then leave the rest of the day flexible for a nearby beach or town break. Keep full-day boat and jeepney outings on separate dates rather than assuming they fit after the climb.
Because Taraw is right behind town, it can fit into a land day when the operator’s available start and duration leave enough time. Keep a full eight-hour jeepney circuit on its own date unless both schedules are explicitly compatible. For a gentler follow-up, choose independent beach time.
The northern beaches are the natural other half of a land day. Nacpan and Duli are a tricycle or scooter ride away, and pairing an available guided start with time on the sand makes a full, boat-free day that still shows off why people fall for this stretch of Palawan. It also spaces out the physical stuff, so you are not doing the climb and a full swimming day back to back.
Our team at El Nido Tours books the boat days most people plan their trip around, and Taraw is the ideal land morning to bracket them. Choose an available guided start, leave time to rest, and let the archipelago itself be the next day's reward, out on the water where the whole view you just admired comes alive at eye level.