El Nido Packing List: What To Bring For Island Hopping
The short, salt-tested list our team hands guests before a day on the water in El Nido, built around dry bags, the right shoes, and enough cash for the fees.
Choose the activity before packing specialist gear; verify the exact supplied equipment and keep personal essentials dry. Compare Your El Nido Options Below.
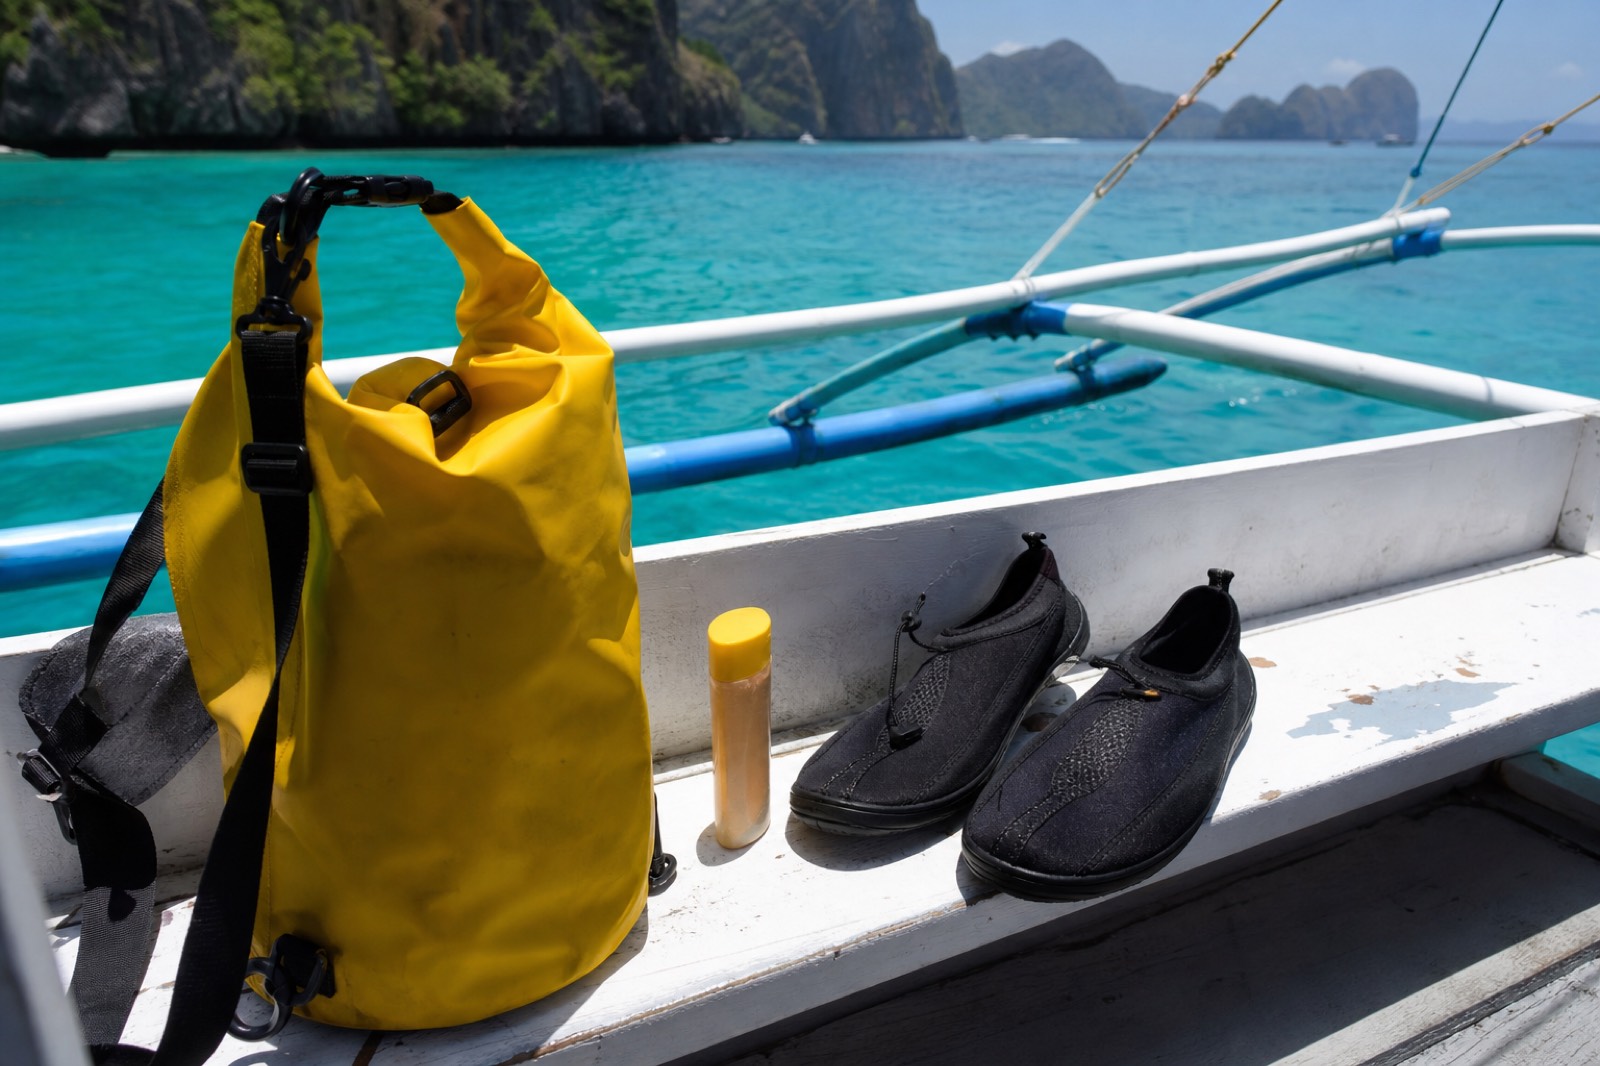
Half the packing mistakes we see at the pier are the same three: no dry bag, the wrong shoes, and not enough cash. El Nido rewards people who pack light but pack right. Most of your good days here are spent on a wooden bangka boat, wet from the moment you slip into the first lagoon, so the goal is a small waterproof kit that survives salt, sun, and sharp limestone. This is the list our team hands guests before a day on the water, built around what the Bacuit Archipelago actually throws at you. Get these basics right and the rest is easy. Get them wrong and you spend the first morning shopping in town for a dry bag and a pair of shoes instead of being out on the water where you want to be.
- A small waterproof day bag covers most boat-day needs.
- Scuba equipment is included in the selected beginner dive; orientation is required in advance.
What Should Be At The Top Of Your El Nido Packing List?
The non-negotiables are a dry bag, water shoes, reef-safe sunscreen, a rash guard, and enough Philippine peso cash for fees and drinks. Everything else is comfort. Snorkel gear can be included or rented, depending on the operator, but a well-fitting mask of your own is the one upgrade that changes a whole day in the water.
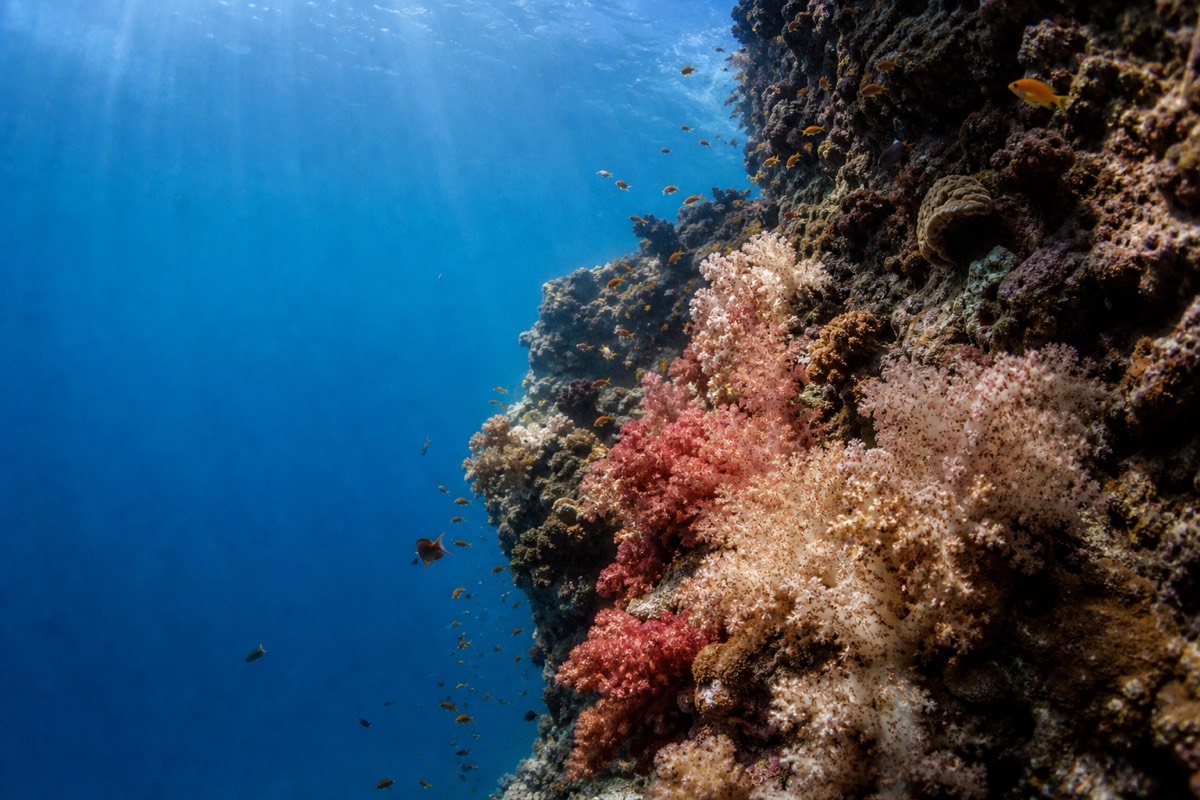
Think of your packing in two piles: the waterproof day kit you carry onto the boat, and the land stuff that stays at your accommodation. The boat kit is small and it earns its place. Below is the master checklist we run through with guests, sorted by how essential each item really is for island hopping.
| Item | Why it matters | Priority |
|---|---|---|
| Dry bag (10 to 20 litres) | Keeps phone, cash, and a dry shirt safe on a wet, open deck | Essential |
| Water / aqua shoes | Lagoon entries and beach landings have sharp rock, coral rubble, and urchins | Essential |
| Reef-safe sunscreen | Strong equatorial sun, and it protects the reef you came to see | Essential |
| Rash guard / UV shirt | Cuts sunburn over long boat days, and you use less sunscreen | Essential |
| Philippine peso cash | Park fee, lagoon and kayak fees, tips, and drinks are cash on the day | Essential |
| Quick-dry towel | Dries between stops and packs down small | Essential |
| Waterproof phone pouch | Photos in the lagoons without risking your phone | Recommended |
| Your own mask and snorkel | Fit and seal beat shared gear and give you clearer time underwater | Recommended |
| Motion-sickness tablets | Seas get choppy, especially in the monsoon months | Recommended |
| Hat and polarised sunglasses | Glare off the water is intense all day | Recommended |
| Reusable water bottle | Cuts plastic in a protected area; refill at your accommodation | Recommended |
| Light rain jacket | Quick tropical showers, more likely June to October | Optional |
Notice how few things are truly essential. That is deliberate. Guests who over-pack end up hauling a suitcase of stuff they never open, while the people who nail the trip carry a light bag and a good dry sack. If you are choosing between two versions of an item, pick the one that dries faster and packs smaller every time.
Why Is A Dry Bag The One Thing You Should Not Skip?
A dry bag is the difference between dry money and a dead phone. Every classic island-hopping day soaks the boat: spray on the crossings, wet feet climbing back aboard, and gear stowed on an open deck. A 10 to 20 litre roll-top bag keeps your phone, cash, a passport copy, and a dry shirt safe through all of it.

Buy or bring one before you arrive rather than relying on finding the right size in town. A 10 litre bag suits a couple sharing the essentials; 20 litres covers a family's phones, sunscreen, and snacks. Clip it to the boat rail so it does not slide off the bench when the captain opens up on a crossing.
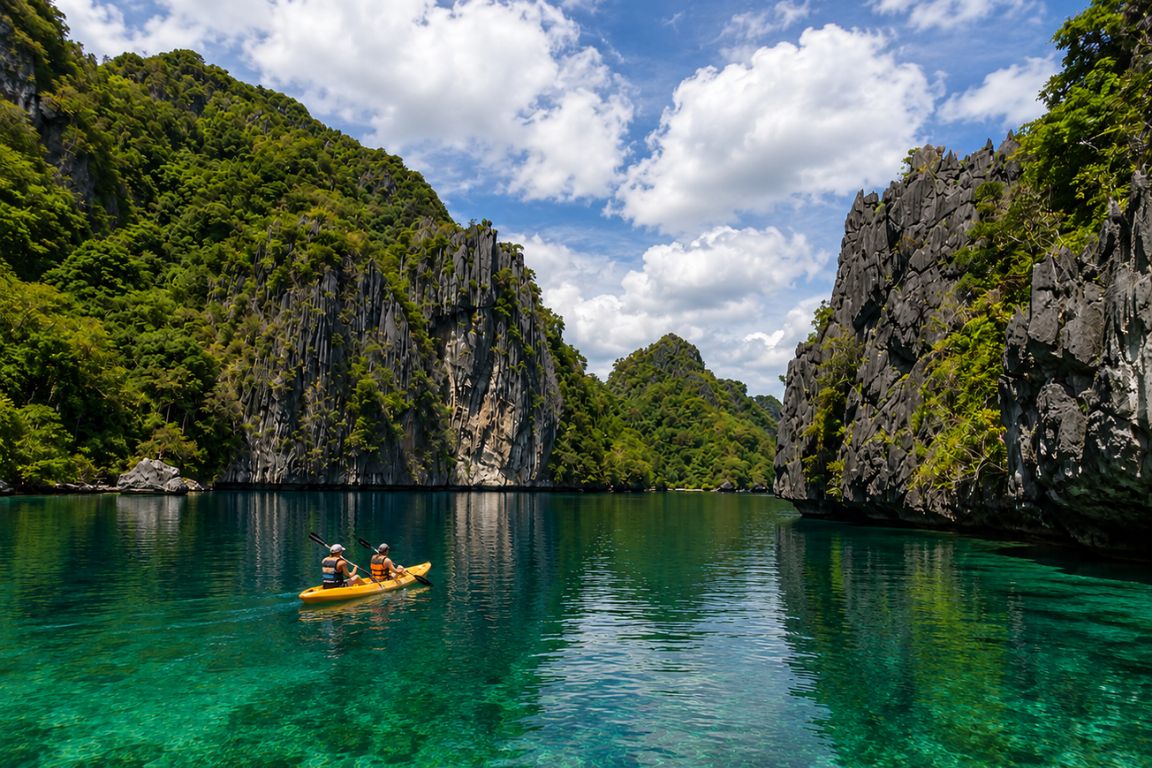
Pair it with a small waterproof phone pouch you can wear around your neck. That way your phone comes into the water at the Big Lagoon for photos while everything else stays sealed in the bag. If you plan on kayaking the Big and Small Lagoons, the pouch matters even more, because you are in and out of the water constantly and there is nowhere dry to set a phone down.
Inside the dry bag, keep the things that must stay dry together: phone, a spare battery, cash in a zip-lock, and a dry shirt for the ride home. Everything that can get wet, like your towel and rash guard, can ride loose in a mesh pocket. Pack one extra zip-lock bag for wet swimwear on the trip back, so a soaked suit does not soak everything else in your pack.
What Footwear Do You Actually Need For Island Hopping?
Bring water shoes with a firm sole, not flip-flops. Lagoon entrances, beach landings, and shallow reef edges are studded with sharp limestone, coral rubble, and the occasional sea urchin. A closed-toe aqua shoe protects your feet climbing in and out of the boat and over rocky shoreline, then dries fast between stops.
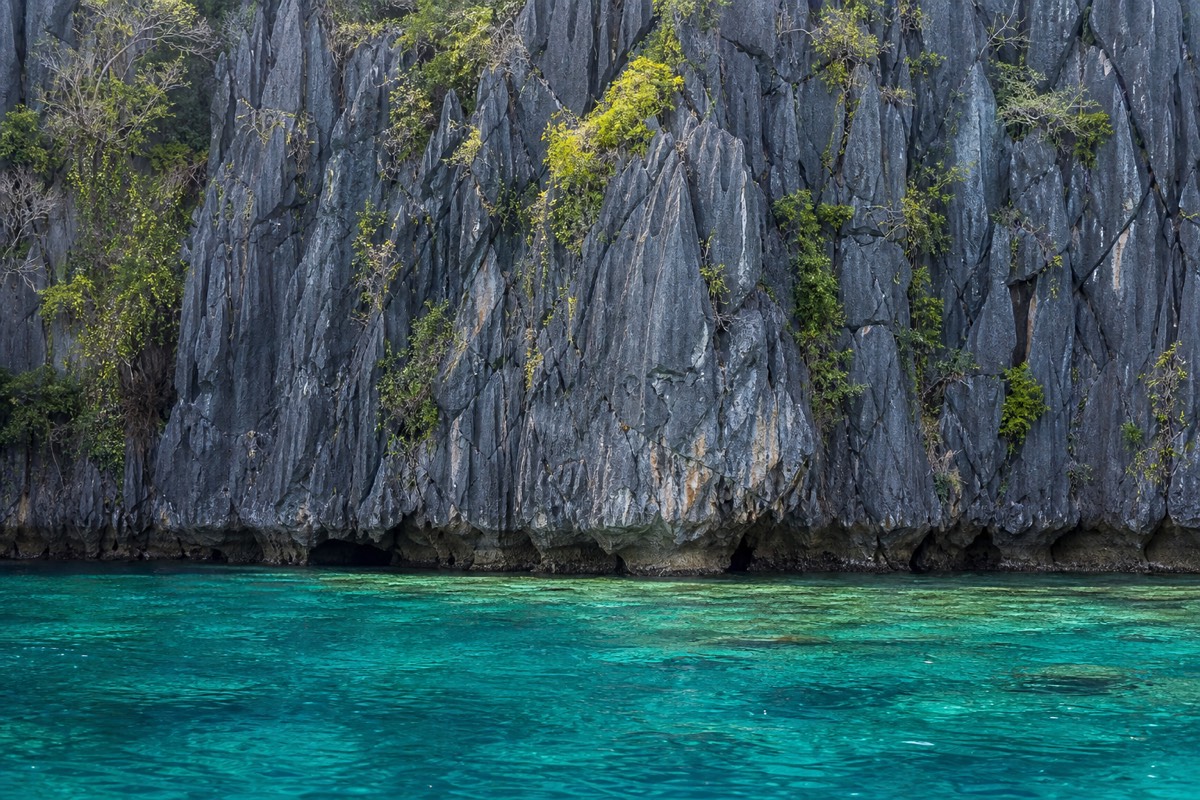
Flip-flops slip off the second you step into surf, and bare feet are asking for a urchin spine near the landings. If you forget yours, aqua shoes rent at the lagoons for around PHP 100, but the fit is hit or miss, so packing your own is the safer call. Keep a pair of sport sandals for town and the land beaches too.
| Footwear | Best for | Watch out |
|---|---|---|
| Closed-toe water / aqua shoes | Boat landings, rocky lagoon entries, reef edges | The pair to actually bring |
| Sport sandals with a heel strap | Town, beach bars, Nacpan, tricycle days | Fine on land, less grip on wet rock |
| Flip-flops | Showers and casual town strolls | Slip off in surf, no protection on rock |
| Barefoot | Soft sand only | Urchins and coral rubble near most landings |
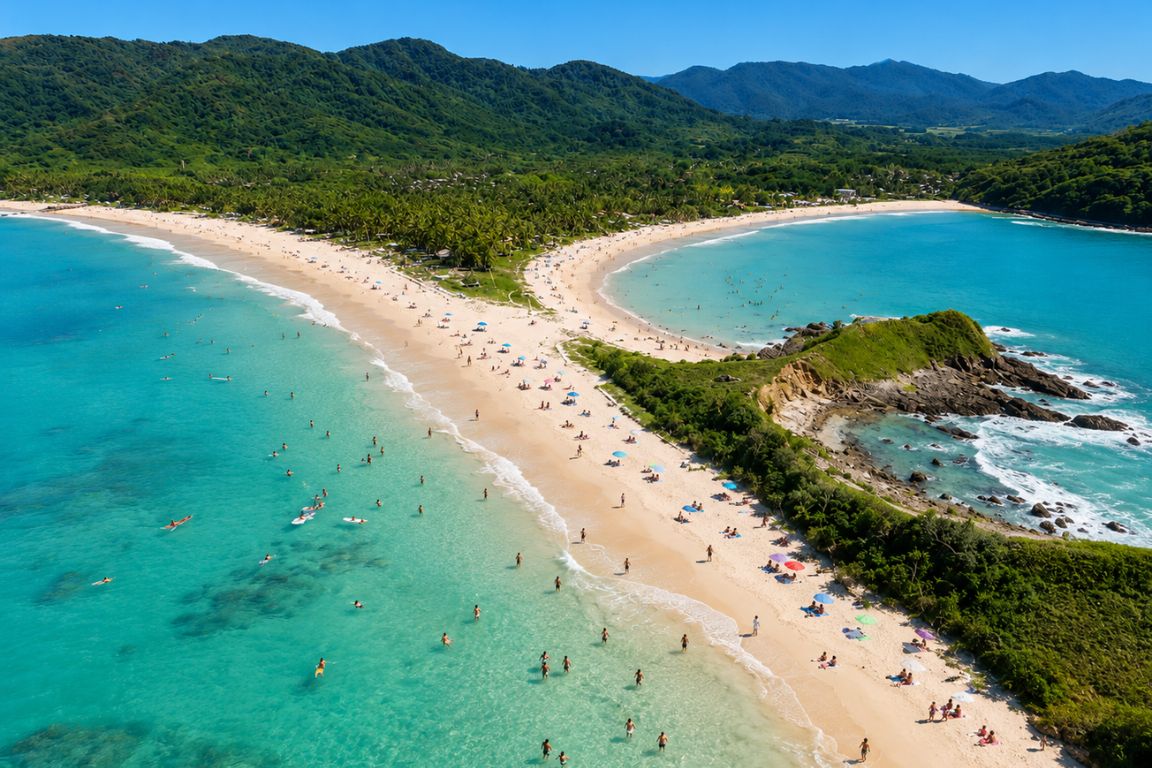
For the long land beaches like Nacpan, sandals are enough. If you want the full picture of where sand beats rock, our guide to the beaches around town covers which ones are easy underfoot and which need shoes. If your feet blister easily, a thin pair of quick-dry socks under the aqua shoes helps on long lagoon days. Rinse and hang the shoes each evening, because closed-toe water shoes that stay damp start to smell fast in the tropical heat.
Do You Need To Bring Your Own Snorkel Gear?
Life jackets are listed on the featured tours, but snorkel equipment can be an extra; confirm the exact booked option before leaving your own mask at home. That said, bring your own mask if you can. Rental masks are one-size and often leak, while a mask that seals to your face turns a frustrating snorkel into the best part of the day.
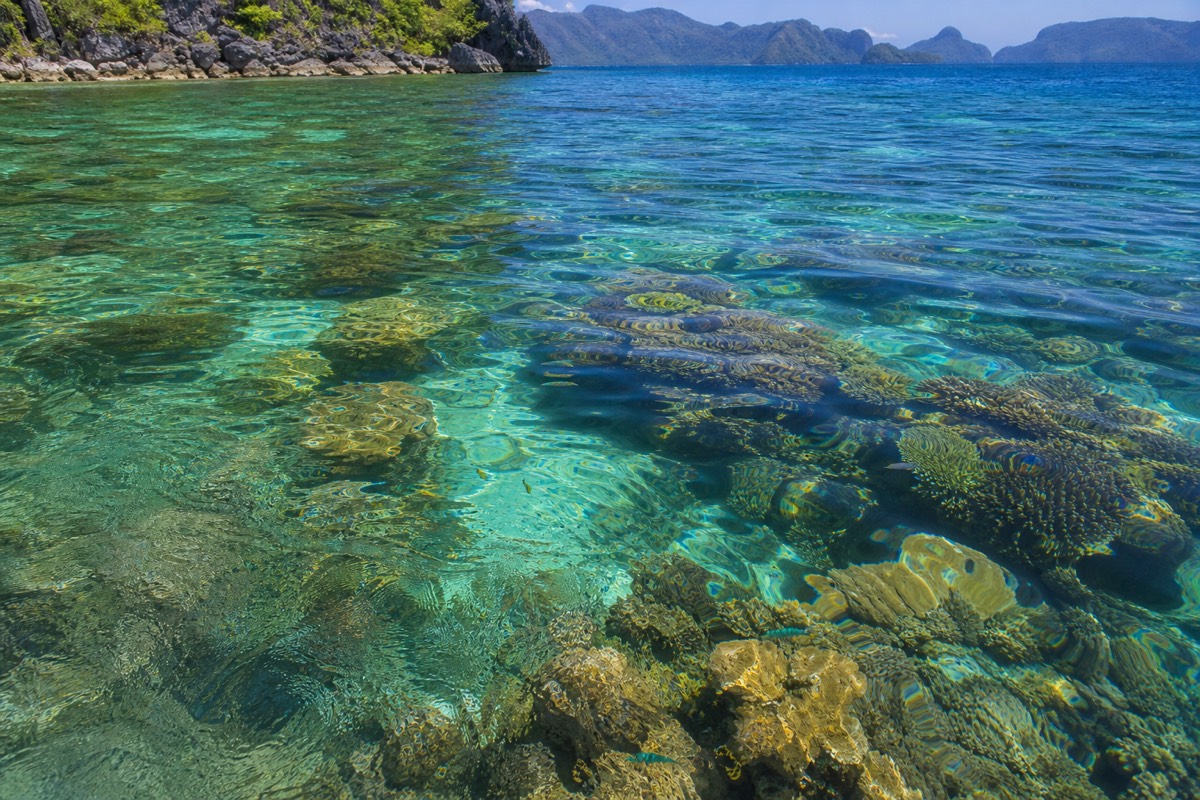
Fins are optional and most people are fine without them in the calm lagoons, so we would not bother packing a full set unless you are a keen snorkeller. If you wear glasses, a prescription mask is worth the space. An underwater or action camera also pays off here more than almost anywhere, given how clear the water runs in the dry season.
Two small things make a rented or borrowed mask far better: a tiny bottle of anti-fog drops, or a smear of baby shampoo rinsed clean, and thirty seconds spent adjusting the strap so it sits high and snug. If you are travelling with children, a properly sized child's mask is worth buying at home, since the adult loaners rarely seal on a small face and a leaky mask ends a kid's snorkel in minutes.
Diving is a different story. On a beginner-friendly Discover Scuba session the dive shop supplies all the kit, so you bring swimwear and a towel, plus anything needed for the required advance orientation and documentation. If you are weighing snorkel days against going under, our El Nido diving guide lays out what each is like.
How Much PHP Cash Should You Carry To El Nido?
Carry more Philippine peso than you think you need, and draw it before you arrive. El Nido's ATMs are unreliable and can be offline for days, especially over long weekends and in peak season. Tour lunches are included, but park fees, lagoon and kayak fees, drinks, and tips are all cash on the day.

The fees add up quietly, so plan for them. Here is what you typically hand over in cash rather than online, with rough figures that move a little over time.
| What | Roughly | When you pay |
|---|---|---|
| Eco-tourism / park fee | Around PHP 400 (about $7 USD), valid roughly 5 to 10 days | In person on arrival or before your first tour |
| Big Lagoon users' fee | Around PHP 200 | On the day, at the lagoon |
| Kayak rental | Around PHP 300 to 500 per lagoon | On the day |
| Aqua shoes rental | Around PHP 100 | On the day, only if you forgot yours |
| Drinks, snacks, tips | Varies | Throughout your stay |
Those on-the-day fees catch people off guard because they sit outside the tour price you may have already paid online. The eco-tourism fee in particular is a one-time payment that covers you for several days, so keep the receipt; you can be asked to show it before later tours.
Draw your peso in Puerto Princesa or Manila before you make the trip north; more on the routes in our guide to getting to El Nido. One clean way around the cash crunch is to book your tours online in advance and pay by card, so you only carry cash for the on-the-day fees. Booking through El Nido Tours before you fly means the big-ticket item is already sorted and your peso stretches further. For the full budget picture, see what a day on the water really costs.
Bring a mix of denominations, not just large notes, because small vendors and tricycle drivers rarely have change for the biggest bills. Tipping is not compulsory, but boat crews work hard for it, and a little cash set aside for the crew at the end of a good tour is always welcome. Keep an emergency reserve of a few thousand peso tucked separately from your daily spending money, in case the machines stay dark for your whole stay.
What Should You Wear On The Boat?
Dress for a full day of sun, salt, and swimming: a rash guard or UV shirt, quick-dry shorts or swimwear you can move in, a hat, and polarised sunglasses, with reef-safe sunscreen on everything the shirt does not cover. You will be wet most of the day, so leave cotton and anything precious behind.
A rash guard does more work than sunscreen over six hours on an open deck, and it means less cream in the water around the reef. Choose mineral, reef-safe sunscreen; the archipelago is a protected area and chemical formulas harm the coral you came to snorkel. A light sarong or your quick-dry towel doubles as sun cover on the exposed benches and warmth on the ride home.
The reef-safe point is not just etiquette. Sunscreen washing off dozens of swimmers a day adds up on shallow reefs, and some marine areas actively discourage the chemical kind. Mineral formulas with zinc or titanium sit on the skin rather than rinsing straight into the water, and a rash guard means you need far less of it in the first place.
| What to wear | Why |
|---|---|
| Rash guard or UV shirt | Sun protection over hours on open water |
| Quick-dry shorts or swimwear | Comfortable wet-to-dry all day long |
| Reef-safe (mineral) sunscreen | Strong sun, and it protects the coral |
| Wide-brim hat | Shade on the fully exposed deck |
| Polarised sunglasses | Cuts glare and helps you spot fish and reef |
| Light sarong or towel | Sun cover on the benches, warmth on the way back |
Pack one dry set of clothes for after the tour, sealed in the dry bag, so you are not pulling on a wet shirt for the ride back to town. A buff or light scarf is handy too: it doubles as sun cover, a sweat rag, and something to keep the wind off on a fast crossing.
What Should You Leave Out Of Your Bag For El Nido?
Leave behind hard-shell suitcases, coral-harming sunscreen, single-use plastics, and valuables you would hate to lose on a boat. El Nido is casual and wet. A large rigid suitcase is a fight on tricycles and boat decks, while a soft duffel or backpack goes anywhere the trip takes you.
- Chemical / oxybenzone sunscreen. Swap it for reef-safe; it damages the reef you came to see.
- Hard-shell suitcase. A soft backpack or duffel handles tricycles, vans, and boats far better.
- Card only, no cash. Many small vendors and every on-the-day fee are cash.
- Single-use plastic bottles. Bring a refillable bottle; the archipelago is protected.
- Fine jewellery and non-waterproof watches. Salt water and open decks are unforgiving.
- Heavy hiking boots. Unless you are set on the Taraw climb, they only take up room. Drone rules apply in the Philippines, so check the current registration and permission requirements before you count on aerial shots.
None of this means travelling heavy. The whole point of a good El Nido bag is that it is small, mostly waterproof, and quick to move between a van, a tricycle, and a boat bench. If an item cannot survive salt water and does not earn its space, it belongs at the hotel or back home.
How Should You Pack To Actually Get To El Nido?
Pack into a soft duffel or backpack, not a hard suitcase, and split your gear into a small waterproof boat bag and a larger bag that stays at your accommodation. The small planes into El Nido carry tight baggage limits, so check your allowance before you fly, and the vans and tricycles that reach town handle soft luggage far more gracefully.
If you fly into El Nido's own airport, the aircraft are small and the checked and carry-on limits are stricter than on a full-size jet, with fees for anything over. Weigh your bag at home and keep it lean. Travellers who fly into Puerto Princesa and take the long van north face the same reality from the other direction: a rigid case wedged into a packed van for four to five hours is nobody's idea of a good start.
The two-bag system does the heavy lifting once you arrive. Your dry bag holds only what the day on the water needs, while the rest lives at the hotel: chargers, spare clothes, town shoes, and anything electronic you are not willing to risk on a deck. Repack the boat bag each night so the morning is a grab-and-go rather than a scramble before an early departure.
What you pack also shifts with the season, since the same trip in March and in August calls for a different bag.
| Season | Add to your bag | Leave out |
|---|---|---|
| Peak dry (December to May) | Extra reef-safe sunscreen, more water, strong sun cover | Heavy wet-weather gear |
| Shoulder (November, early June) | A light rain jacket and flexible plans | Fixed, back-to-back tour days |
| Monsoon (June to October) | A proper rain jacket, motion-sickness tablets, buffer days | Any expectation of a guaranteed daily tour |
What Camera And Tech Gear Survives A Boat Day?
Assume everything gets wet or salty. A phone lives in a waterproof pouch, a proper action or underwater camera earns its place in the clear dry-season water, and a power bank keeps you charged on long days off the grid. Seal spares and chargers in the dry bag, and rinse salt off every lens before it dries.
El Nido's water is clear enough in the dry season that an underwater camera or a rugged action model pays off more here than in most places, and a floating wrist strap is cheap insurance against a camera lost to the bottom of a lagoon. Bring more storage and battery than you think, because there is little chance to offload photos mid-tour and power on the boat does not exist. If your phone is your only camera, a good waterproof pouch that still lets the touchscreen work is the single best few dollars you can spend.
| Gear | Why it earns its place | Note |
|---|---|---|
| Waterproof phone pouch | Photos in the lagoons while the phone stays dry | Test the touchscreen through it first |
| Action or underwater camera | Clear dry-season water suits it | Add a floating wrist strap |
| Power bank | No charging on the boat | Seal it in the dry bag |
| Spare battery and memory card | Long days, no chance to offload | Keep dry and to hand |
| Lens cloth | Salt spray blurs every shot | Rinse and wipe between stops |
What Health And First-Aid Items Should You Pack?
Pack for sun, sea and small reef scrapes: motion-sickness tablets, after-sun or aloe, a few waterproof plasters, antiseptic for coral cuts, and any personal medication in the dry bag. Add electrolyte sachets for long, hot days on the water. The town has pharmacies, but stock runs thin, so bring what you rely on from home.
Coral and urchin cuts are the most common minor injury on a boat day, which is another reason for the water shoes above, and a little antiseptic with a couple of waterproof plasters handles them on the spot. Seasickness is worth taking seriously in the choppier months: medication timing and suitability depend on the product; follow its instructions and ask a pharmacist. A short personal kit covers most days.
- Motion-sickness tablets, taken before departure, not after.
- After-sun or aloe for the sunburn a long deck day can still cause.
- Antiseptic and waterproof plasters for coral and urchin scrapes.
- Electrolyte sachets to replace what heat and salt water take out of you.
- Personal medication and a copy of your prescription, sealed dry.
- Insect repellent for the evenings back in town, away from the sea breeze.
What Should You Pack For The Land Days?
The boat bag is only half the trip. Land days want sturdier footwear and different kit: closed shoes with grip for the Taraw climb, sport sandals and light layers for the long tricycle or van ride to Nacpan, sun cover for shadeless roads, and a small daypack that is not your soaking dry bag.
Not every good day in El Nido happens on a boat. The Taraw Cliff climb needs closed shoes with real grip and the gloves the guides usually provide, plus water and a head for heights, and it is an early start to beat the heat. A run north to the twin sands of Nacpan Beach is a long open-air tricycle or van ride, so pack sun cover, a little cash, and a light layer for the wind on the way back. For any of these, a small dry daypack that is not your salt-soaked boat bag keeps a phone, water and a snack easy to reach.
| Land day | Footwear | Also pack |
|---|---|---|
| Taraw Cliff climb | Closed shoes with grip | Water, an early start, a head for heights |
| Nacpan and the northern beaches | Sport sandals | Cash, sun cover, a light layer for the ride |
| Town and beach bars | Flip-flops or sandals | Small daypack, a little cash |
What Extras Make A Diving Or Kayaking Day Easier?
Match a few extras to your plan. A full kayaking day wants sun sleeves, gloves, and extra water; the selected beginner dive supplies equipment but requires advance orientation and confirmed participant suitability; and a choppy monsoon-season crossing wants motion-sickness tablets taken before you board, not after you feel it.
The classic tours share a core kit, then each activity adds a little on top. Use this to top up your dry bag depending on the day ahead.
| Your day | Pack these extras |
|---|---|
| Classic island hopping (Tour A) | Dry bag, your own mask, motion-sickness tablets, cash for fees |
| Full-day lagoon kayaking | Sun sleeves, gloves, extra water, waterproof pouch, snacks |
| Beginner scuba / Discover dive | Swimwear and towel; confirm advance orientation and participant requirements |
| Land trip to Nacpan or the north | Sport sandals, cash, light layers for the open tricycle or van |
If a full-day Big Lagoon kayaking trip is on your list, that gloves-and-water combination makes the paddling far more pleasant. Seasickness is worst when the seas are up, so timing helps as much as tablets do; our take on the calmest months for island hopping explains when the water sits flat. If you are prone to it, eat a light breakfast, follow the medication instructions and pharmacist’s advice, sit toward the middle of the boat where the motion is gentlest, and keep your eyes on the horizon rather than on your phone. And once the boat kit is sorted, there is more to fill land days with, laid out in things to do beyond the water .
Pack the dry bag, the shoes, and the cash, and El Nido stops being about logistics and turns into the water itself. The morning your boat pulls out of Bacuit Bay toward the first lagoon, you will be glad the small stuff is already handled and you can just jump in.